Your control sheet
These inputs were described by the developer in a pre-release community reply. Check the current in-game settings before practicing. The reply does not provide a full action-state chart or complete controller mappings.
Move
Move your character manually around the court.
Jump
Jump. Exact timing and action context still matter.
Receive / spike
Used for actions including receiving and spiking.
Block / dive
Used for blocking and diving in the appropriate context.
Set
The developer-described input for setting the ball.
Aim
Direct your target separately from character movement.
Changing this filter only changes the reference cards, not the game controls.
Move to the ball. Aim for the next play.
Manual movement and cursor aiming solve different problems. Your character must be in position to play the ball; your target determines where you are trying to send it. Moving closer does not automatically choose a useful teammate or safe part of the court.
- Identify the likely landing area before committing to a touch.
- Move early enough that you can adjust rather than rush.
- Pick a broad target that a teammate can reach.
- Observe the result before changing your approach.
Repeat a receive toward the same target. Change only your starting position, then only your aim. This helps distinguish a movement problem from a direction problem.
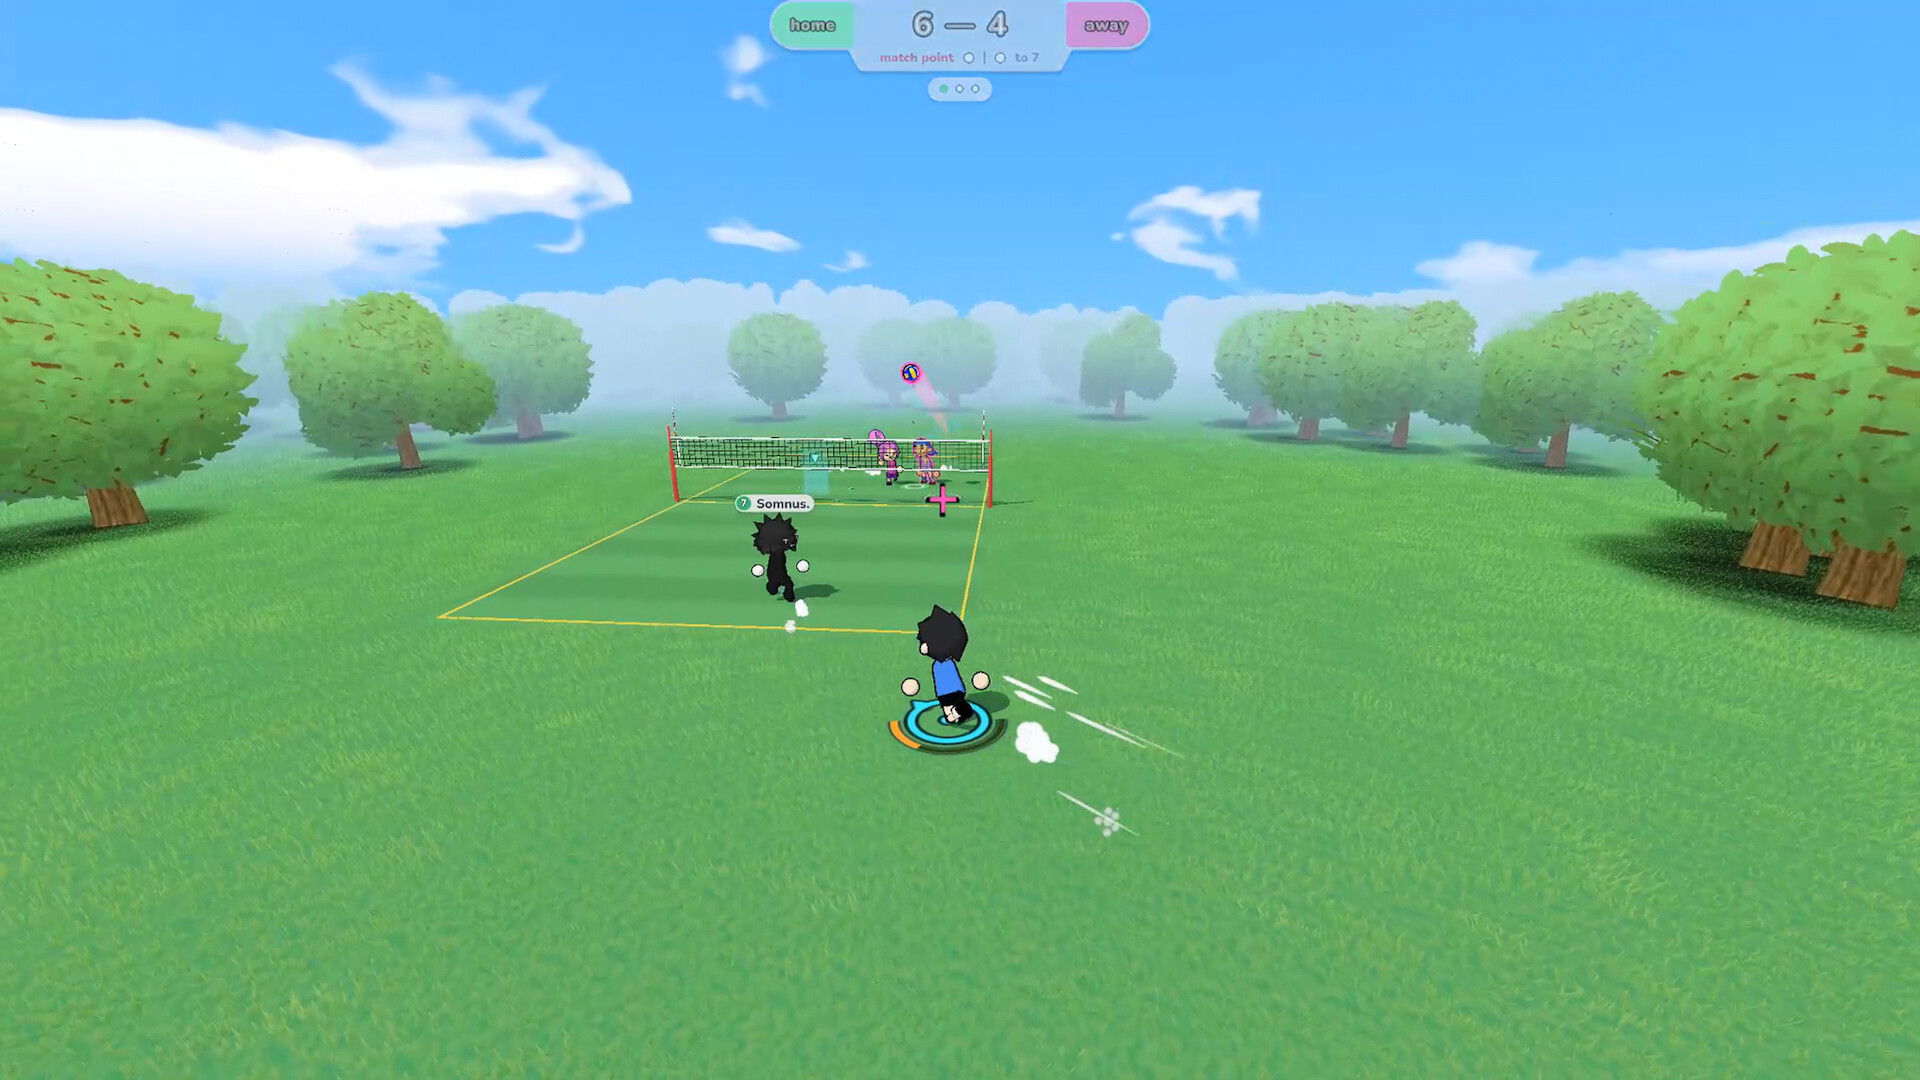
Give the next player a chance
Receiving: useful beats spectacular
The developer lists left mouse for receiving actions. Before contact, identify the player or area you want to reach. Avoid treating every incoming ball as a scoring opportunity. A useful receive gives your team time to organize.
Setting: communicate the target
E is the developer-described setting input. Let your teammate know where you intend to send the ball. Start with a repeatable, comfortable exchange before experimenting with faster combinations.
Community demo footage discusses power and trajectory, but it is not enough to publish an exact current-version formula. Test one change at a time and note your game build. Do not assume that a community nickname is an official move.
Choose the next target before touching the ball.
Offer a clear target and call the next play early.
Make the serve repeatable
The available developer reply does not explain the complete serve sequence. Use the current game's tutorial or control settings for toss, charge, and release instructions. We intentionally do not assign unverified buttons to those actions.
Once you have the sequence, practice the same setup for a short group of attempts. Choose a generous target instead of the line. Record whether the ball stays in play and whether it reaches the intended area.
- Keep your starting position consistent.
- Repeat the same target before exploring corners.
- Change one element and compare the result.
- Separate timing mistakes from aiming mistakes.
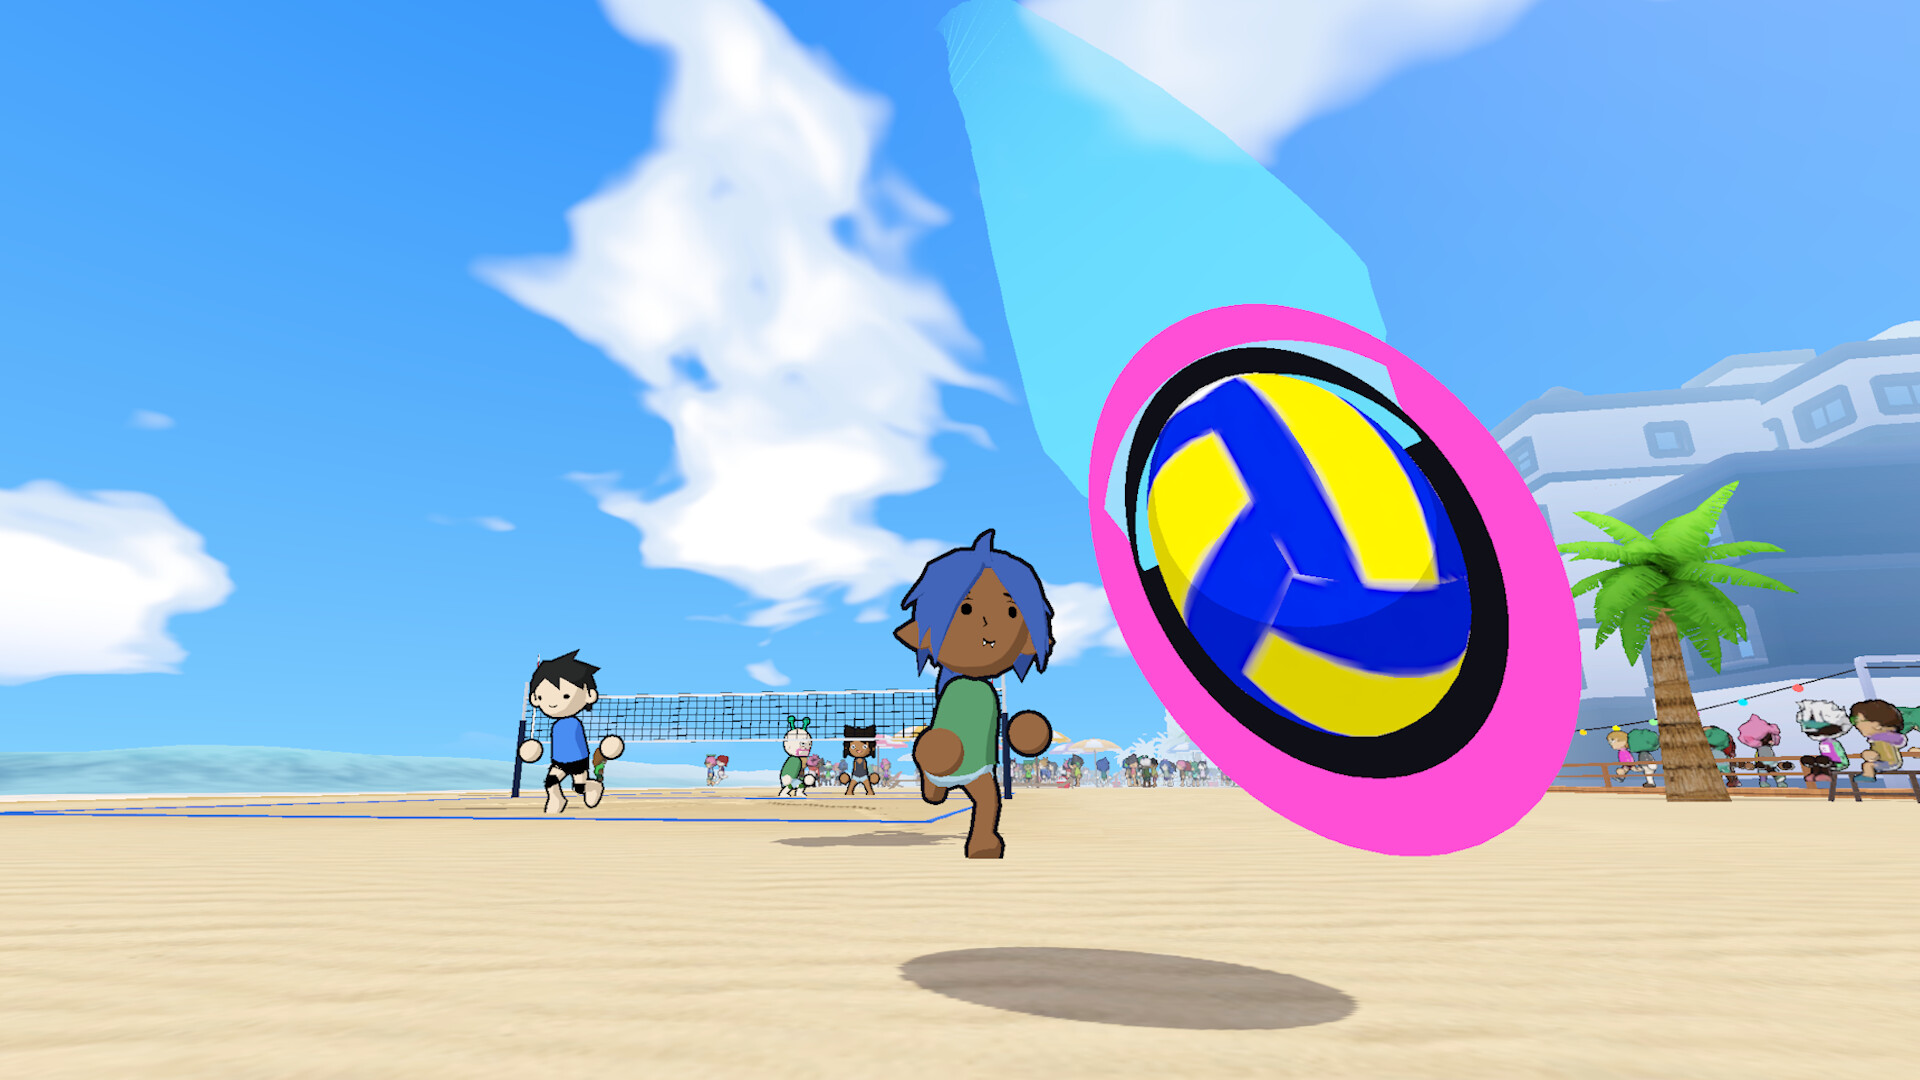
Attack with a target. Defend with a plan.
Spiking
Jump and attacking inputs need to work with the ball's arrival. Begin with controlled attempts at a broad area. Review where you stood, where you aimed, and whether you acted when expected. Do not change all three after every miss.
Blocking
The developer lists right mouse for blocking actions. Watch the developing attack and agree who covers the net. Another teammate can watch the space behind the blocker. A missed block is not enough evidence to conclude that the game ignored your input.
Diving
Right mouse is also listed for diving. The exact activation conditions and recovery behavior are not established by the source reply. Practice in your current version and observe what happens from different positions.
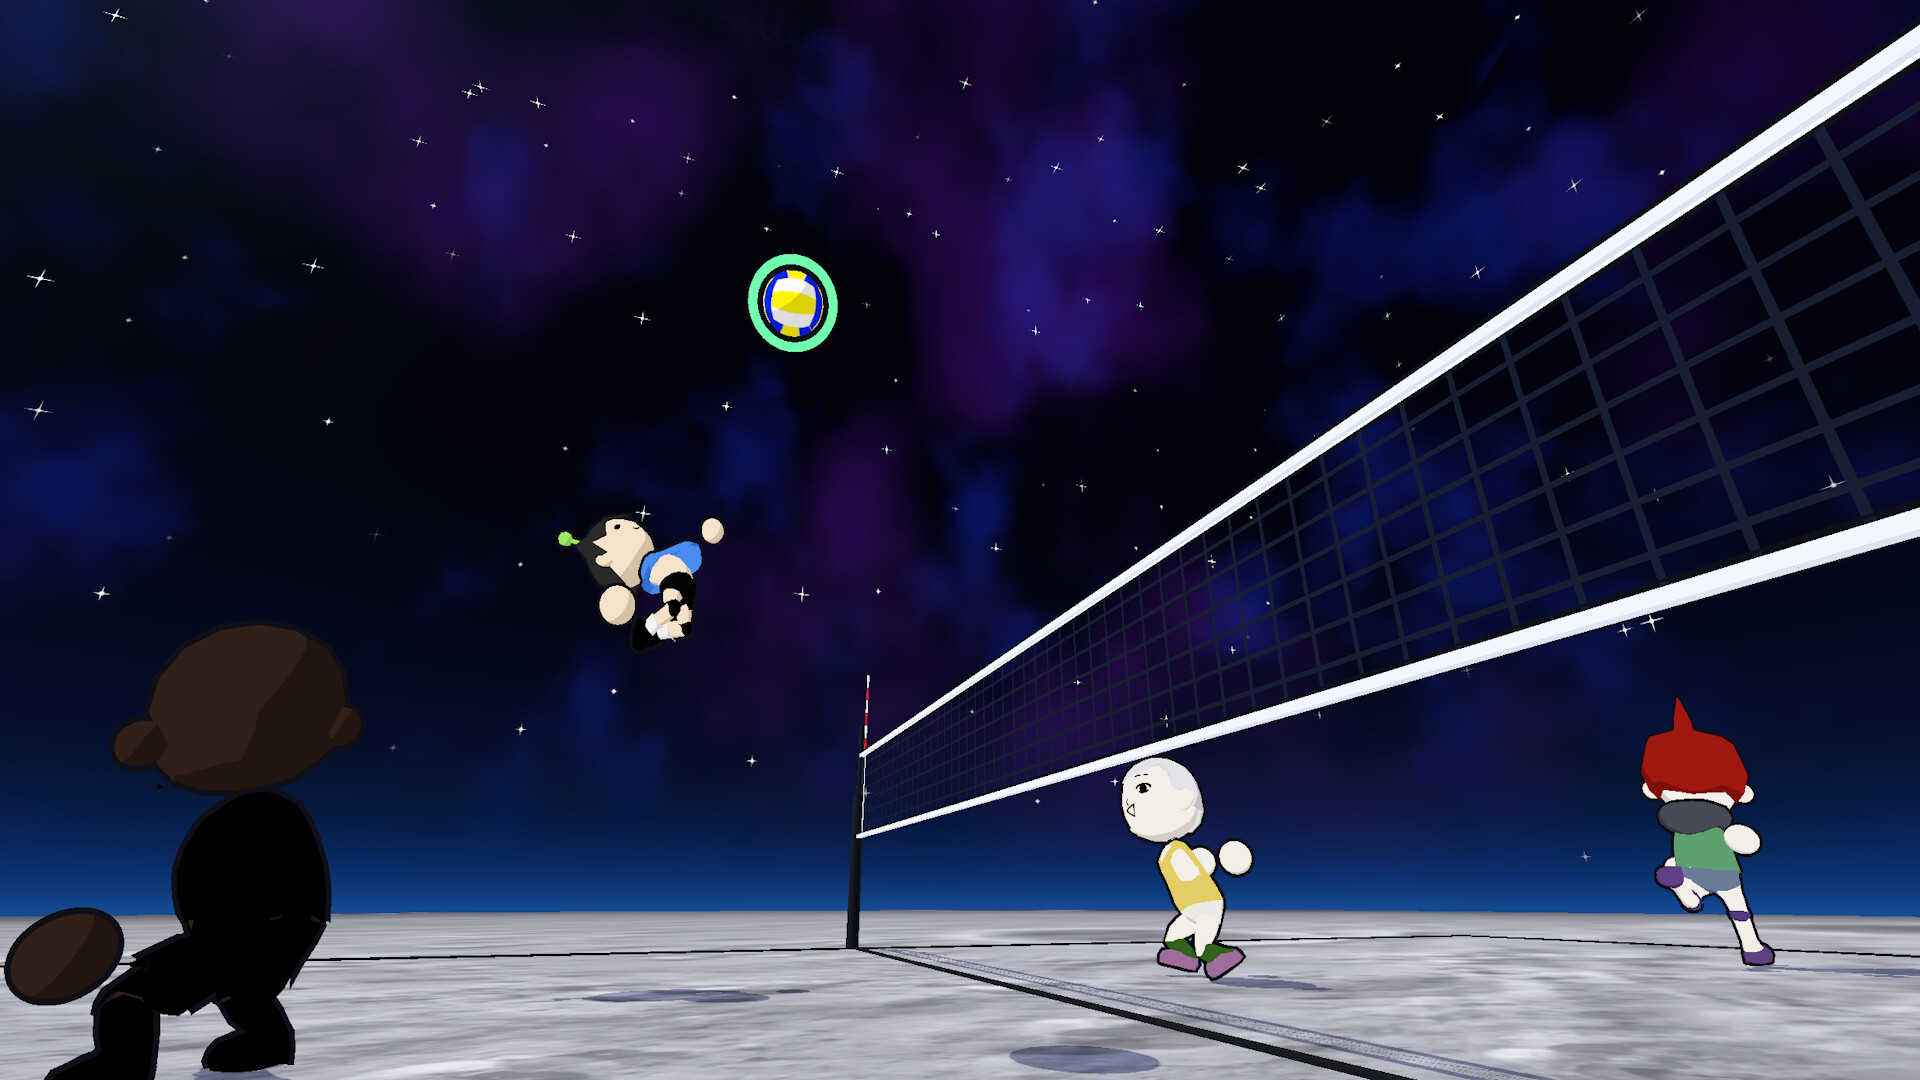
One player takes the ball. Others take the space.
Free movement lets teammates converge on the same area. That freedom is also a reason to communicate. Choose who goes to the net and who stays available behind the play.
This is a suggested communication exercise, not a required formation or a rule about positions. Try calling “mine” before approaching the ball, “yours” when leaving it, and “covering” when moving behind a teammate.
When two players repeatedly collide or leave a gap, pause and simplify the assignment. More movement is not automatically better coverage.
When a button does not do what you expect
| Check | What to do |
|---|---|
| Current binding | Read the settings in your installed version. |
| Action context | Compare your position and whether you were jumping or grounded. |
| Timing | Repeat the same attempt and review when you pressed. |
| Online conditions | Record the connection conditions and compare with offline practice. |
| Version | Check whether the tutorial or clip came from an older demo. |
For controller play, use the game's current binding screen. A developer announcement reported controller fixes after release; that does not provide a complete mapping for every device. Sprint, stamina thresholds, advanced charge formulas, and special-move claims need further current-version verification.
Put it into practice